Beauty
Tips and tricks to get the most out of your Chill house nails
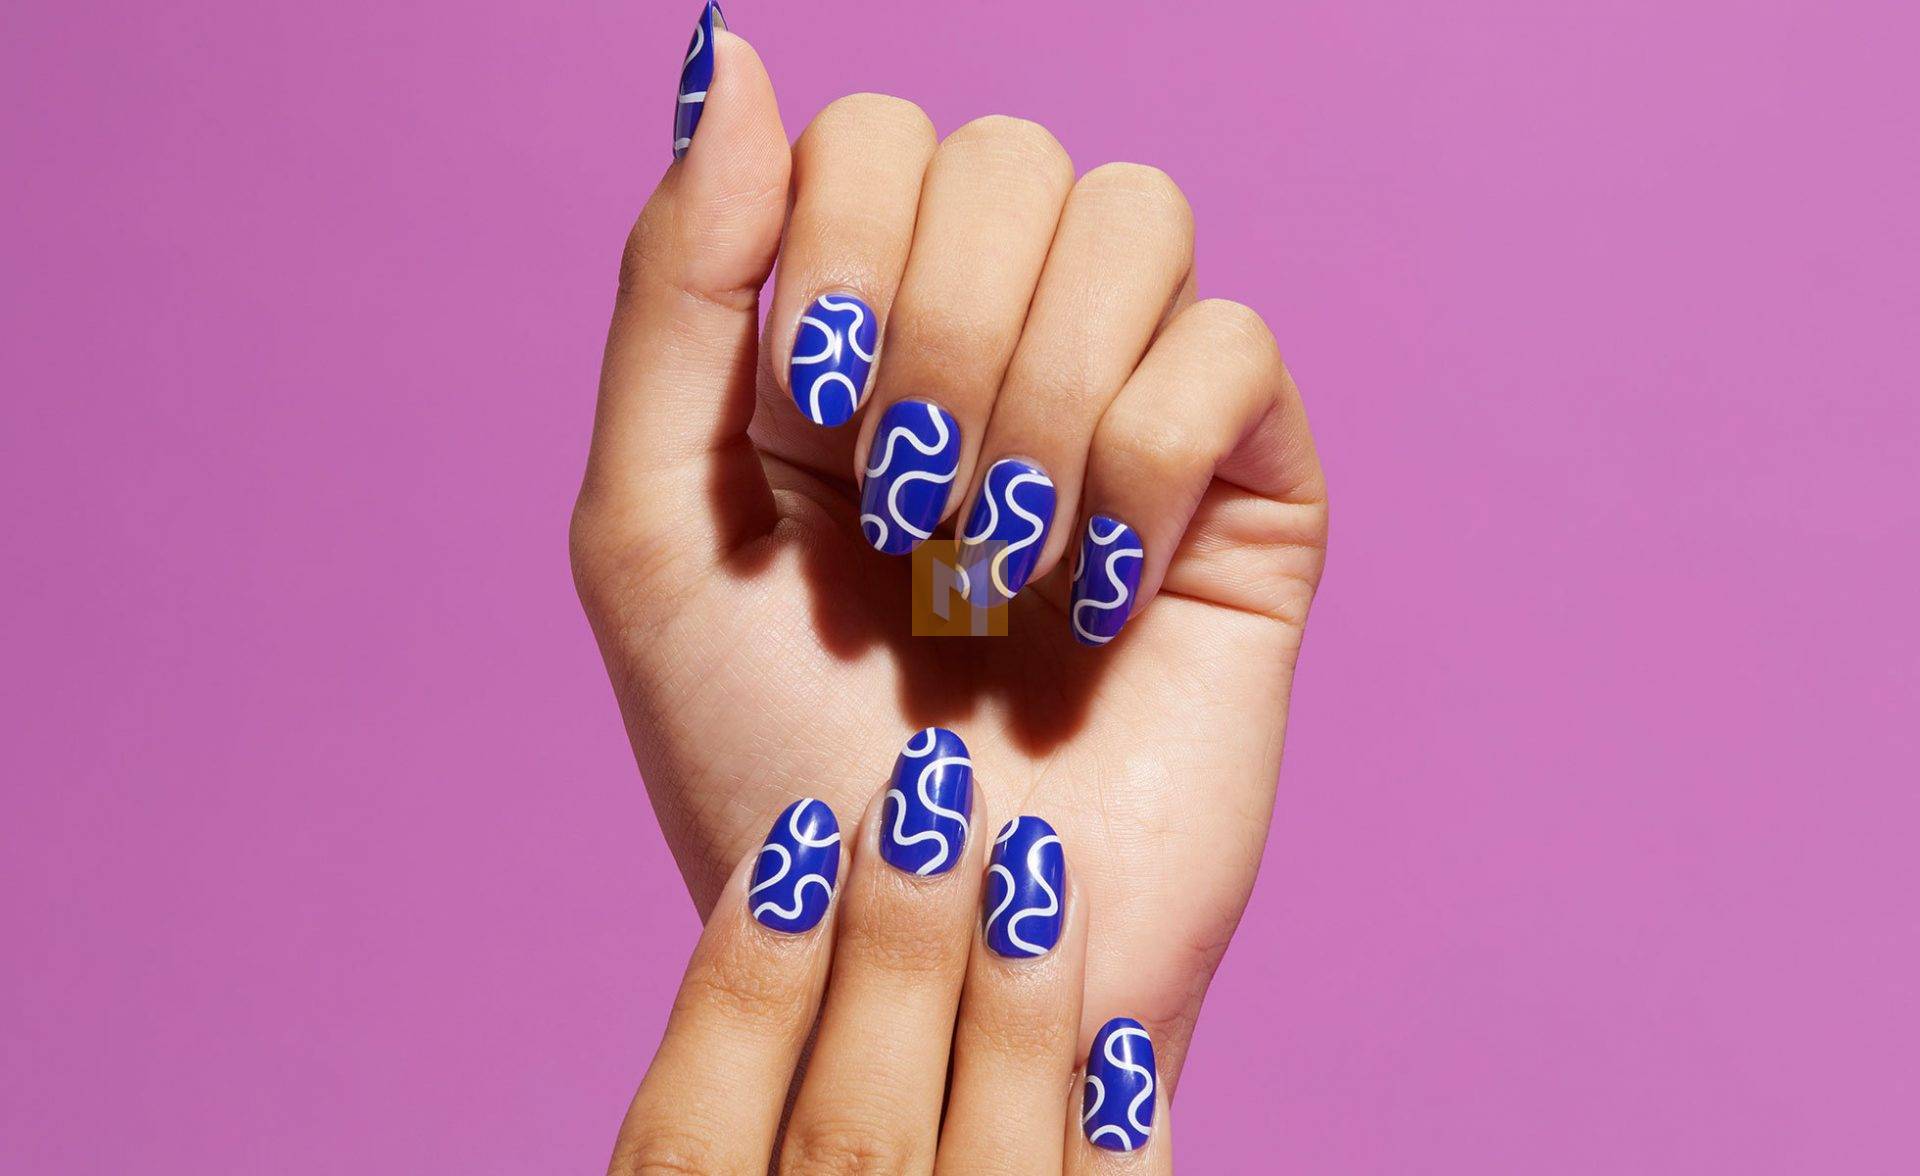
Printable nails have received one of the most impressive flares in recent years. We’ve replaced the old, unreliable pharmacy clips that come off within minutes of application and leave damaged nails at Chill house. Not only will their modern and artistic designs fit in your IG nail inspiration folder, they’re also surprisingly sturdy and have non-toxic adhesives that won’t damage your nails. If you’re ready to try out some editor-approved tips, here are some tips and tricks for seamless application and removal so you don’t make the same mistakes I did.
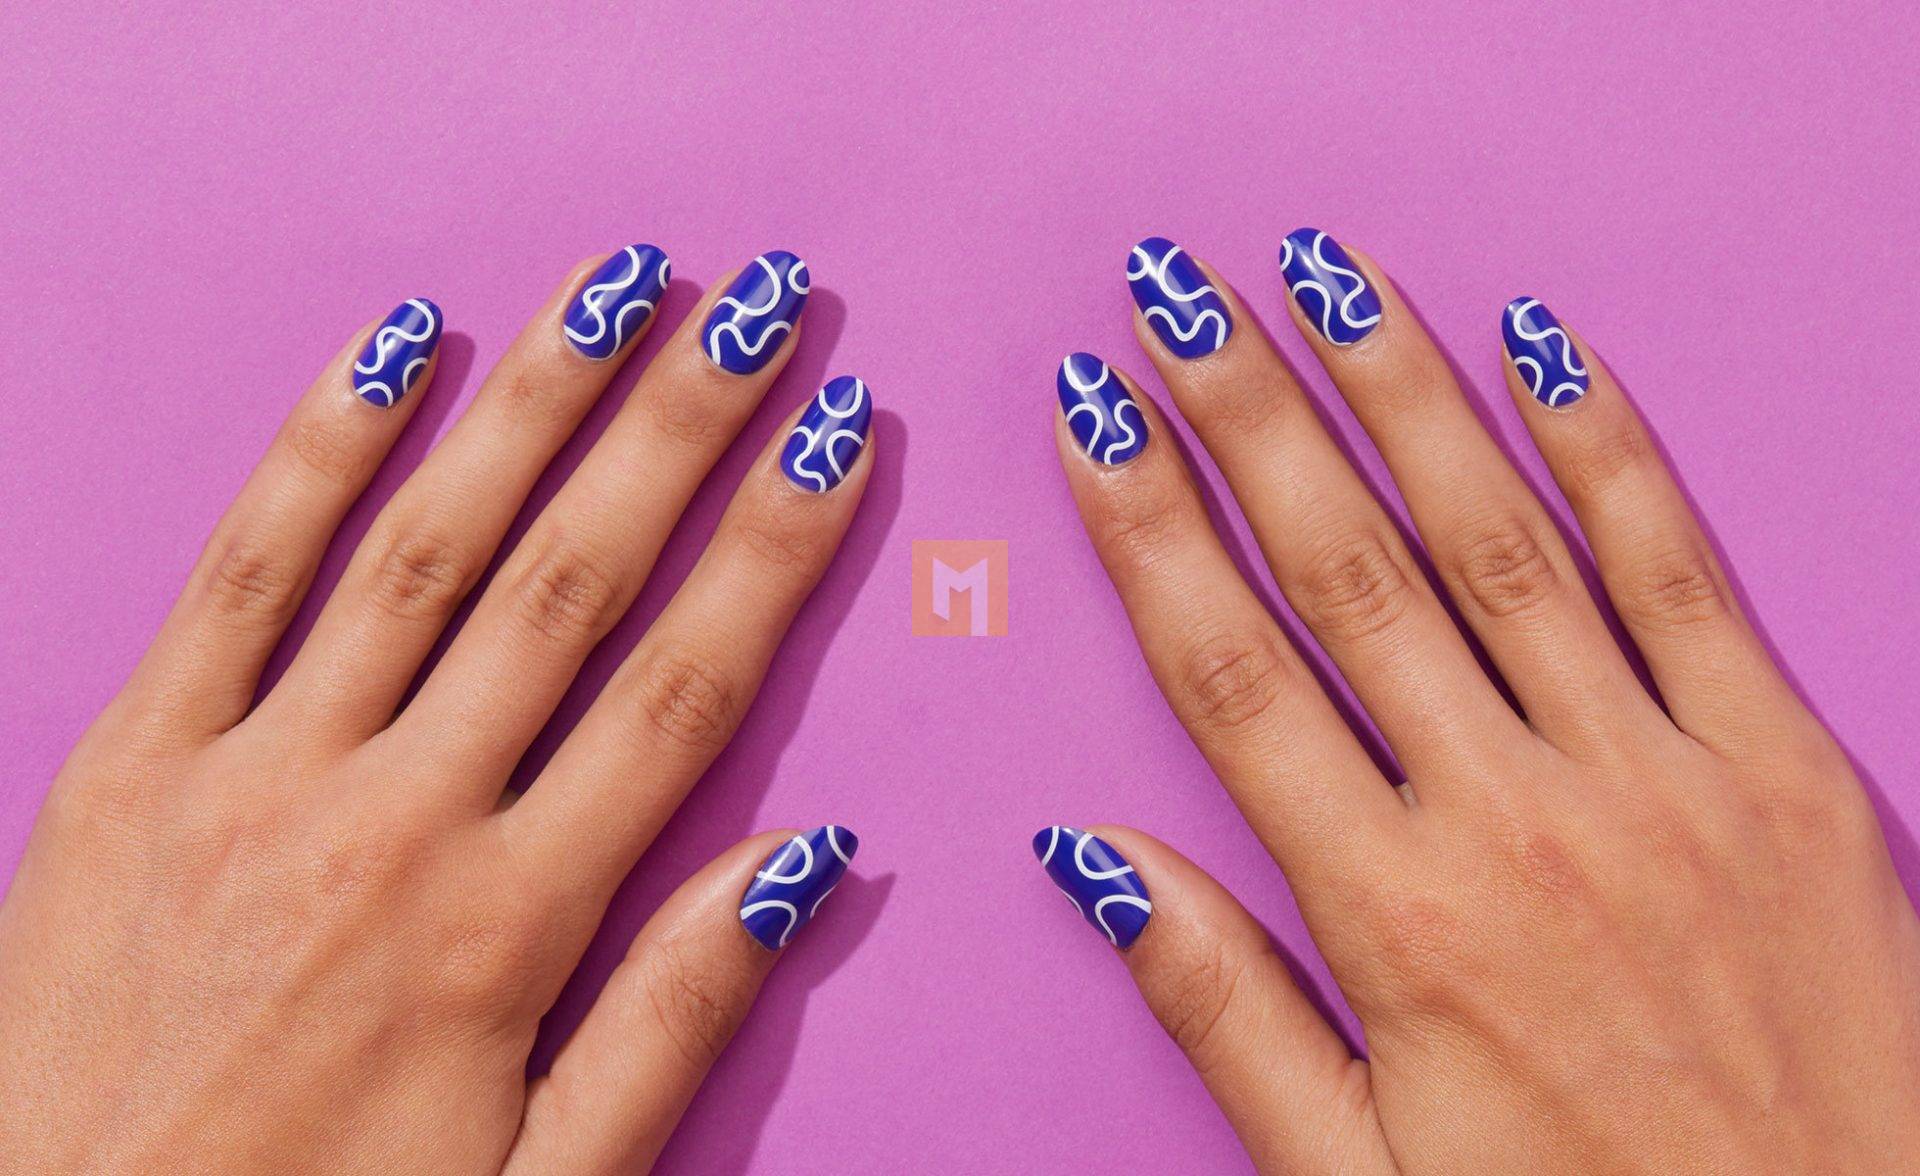
Chill house Nails nail application
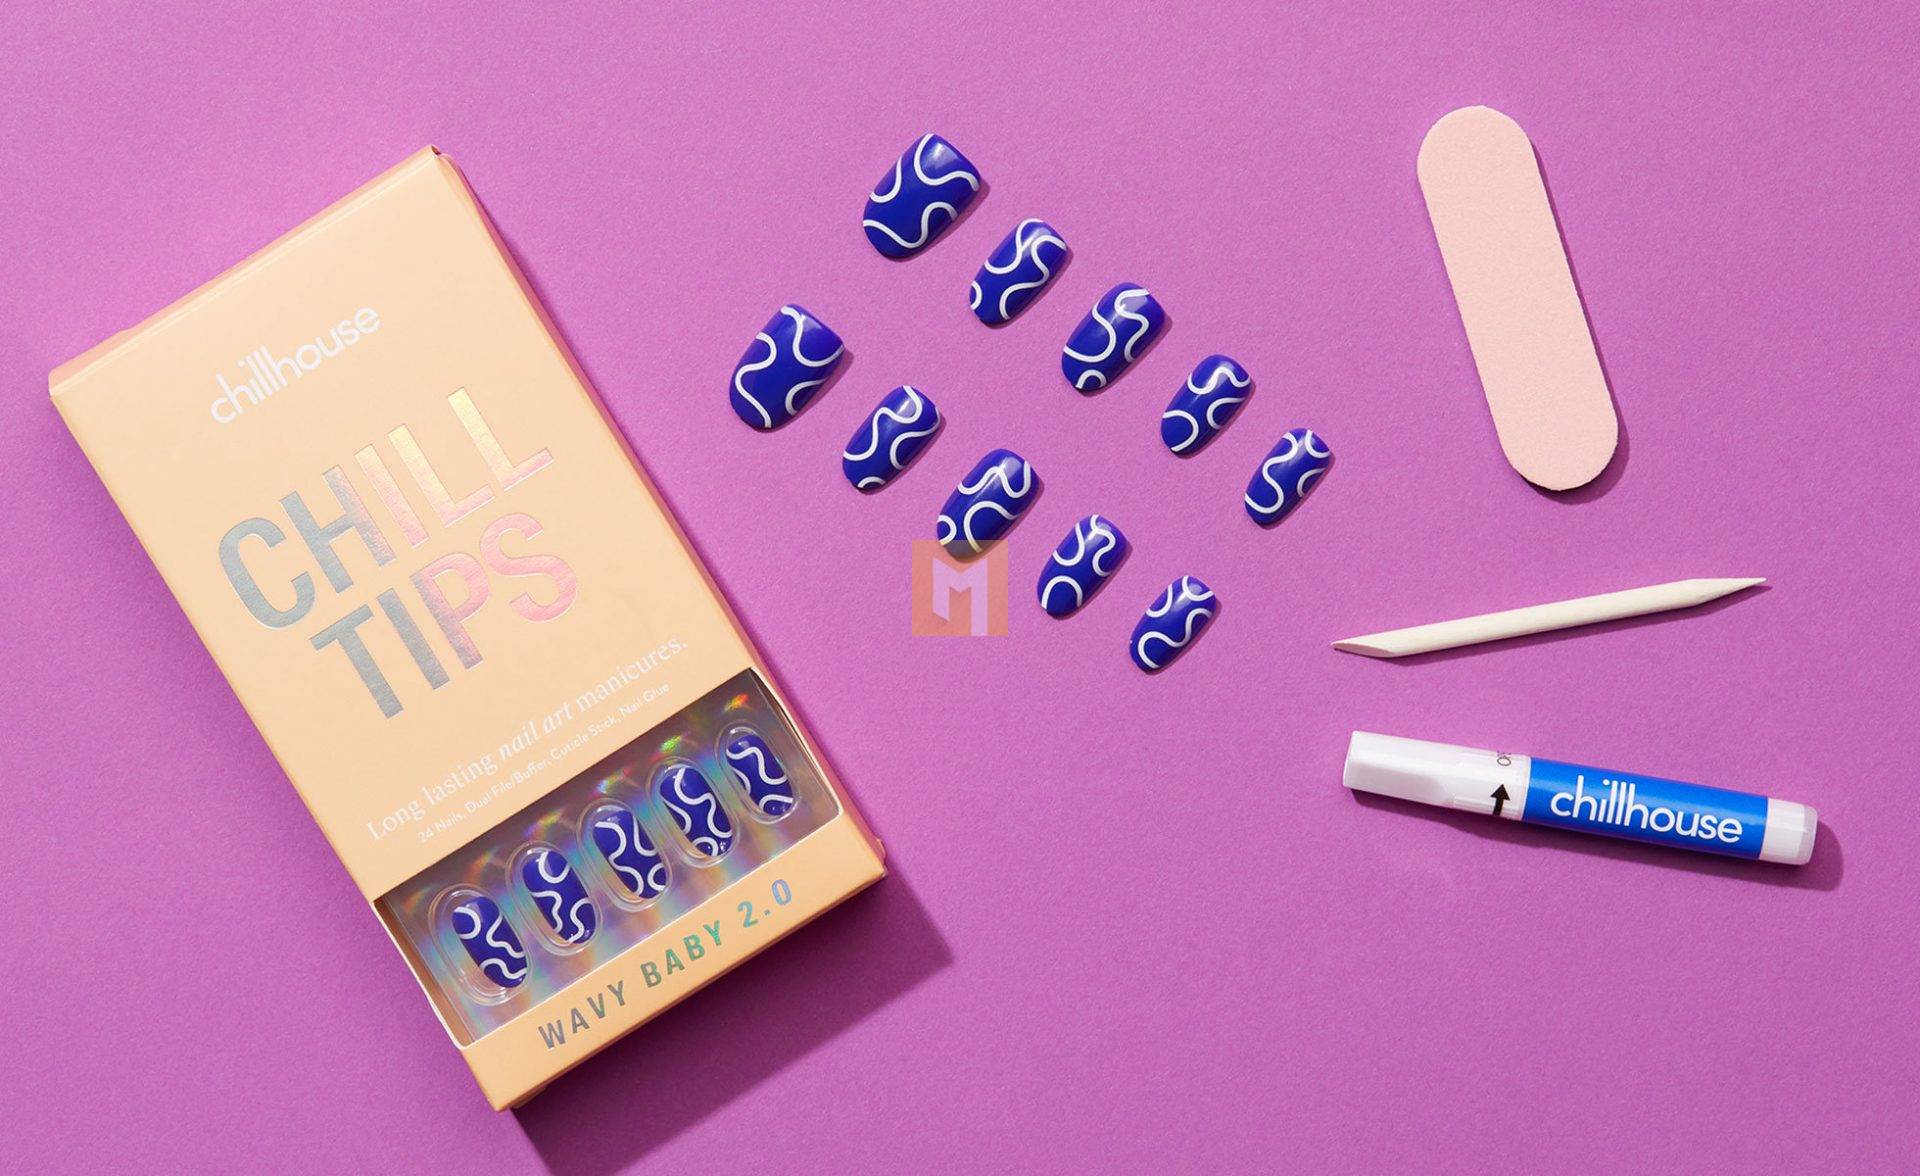
The set comes with 24 nails – so you can find the perfect size for every nail – plus non-toxic glue, a double-sided file buffer hybrid and a nail stripper. In short, everything you need for the ideal application.
- Preparations
To maximize wear time, I recommend using the included tools or other tools to push back the cuticles and polish your nails. Don’t forget to wash your hands or apply rubbing alcohol to make sure nothing gets in the way of your nails and tips. And for good measure, test your nail size and ensure a perfect fit on each finger (thumb to little finger) to avoid confusion.
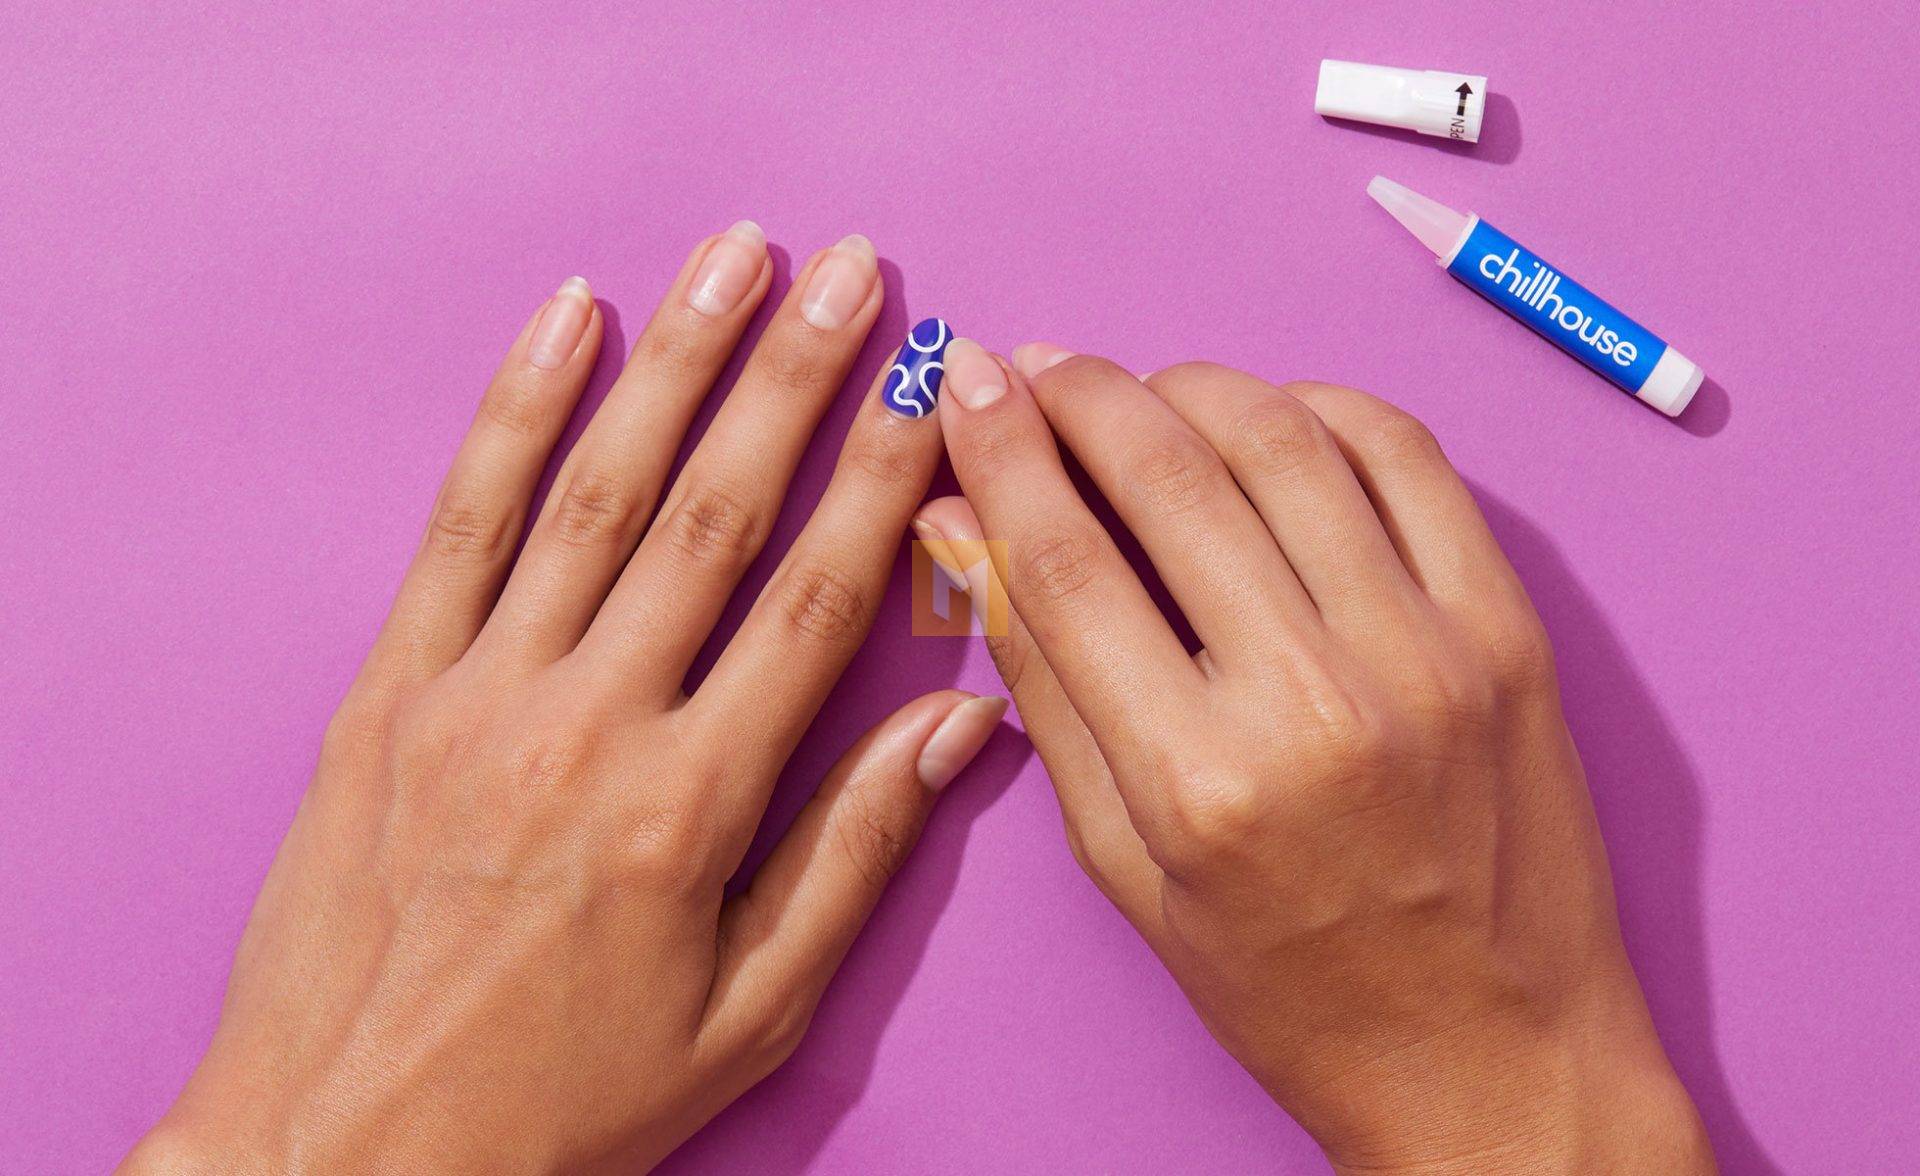
- Apply the glue
Following Chill house’s instructions, I applied a thin, even coat of glue to the back of the buttons and a generous amount on my nails, waited 3 seconds, then attached the weights and held each nail for at least 30 seconds. with constant pressure. The more glue you apply, the longer they last.
Tip: If you want your nails to last 7-10 days, I recommend that you apply a generous amount of glue in an even layer on the natural nail. I was a little light and a few nails came off unexpectedly.
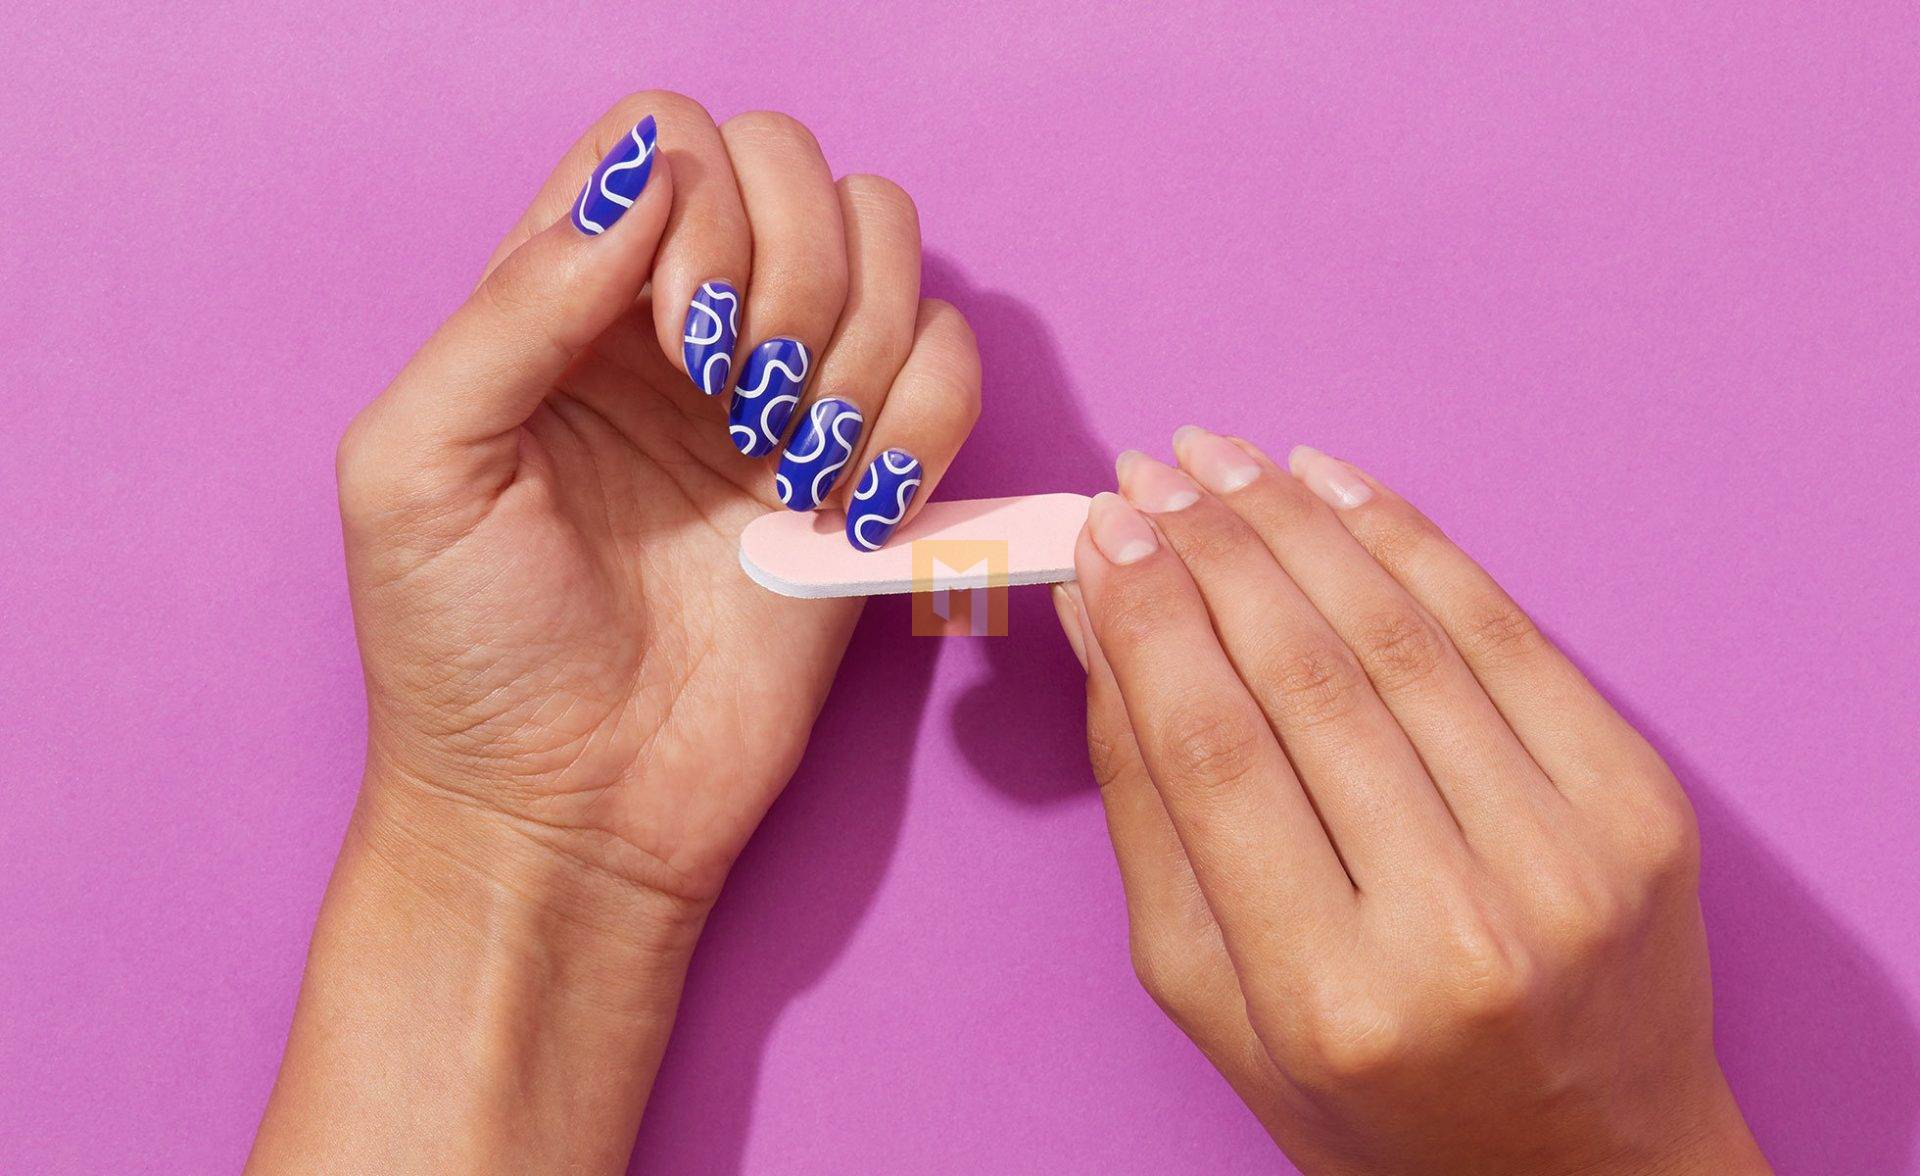
- Customize
After you apply your nails, you can file them to get the look you want. They have an oval shape which was the perfect length for me – not too long, not too short, so I skipped that part.
- You are good!
The nail sticks in 30 seconds – no extra waiting time is needed. I applied my nails just before packing my bags for the flight the next morning with no problems.
Chill house Nail Removal
The trick to removing Chill house nails is to wait until they start to open slightly on the sides or edges. If your nails aren’t ready yet, but you are, the first step of soaking should be enough.
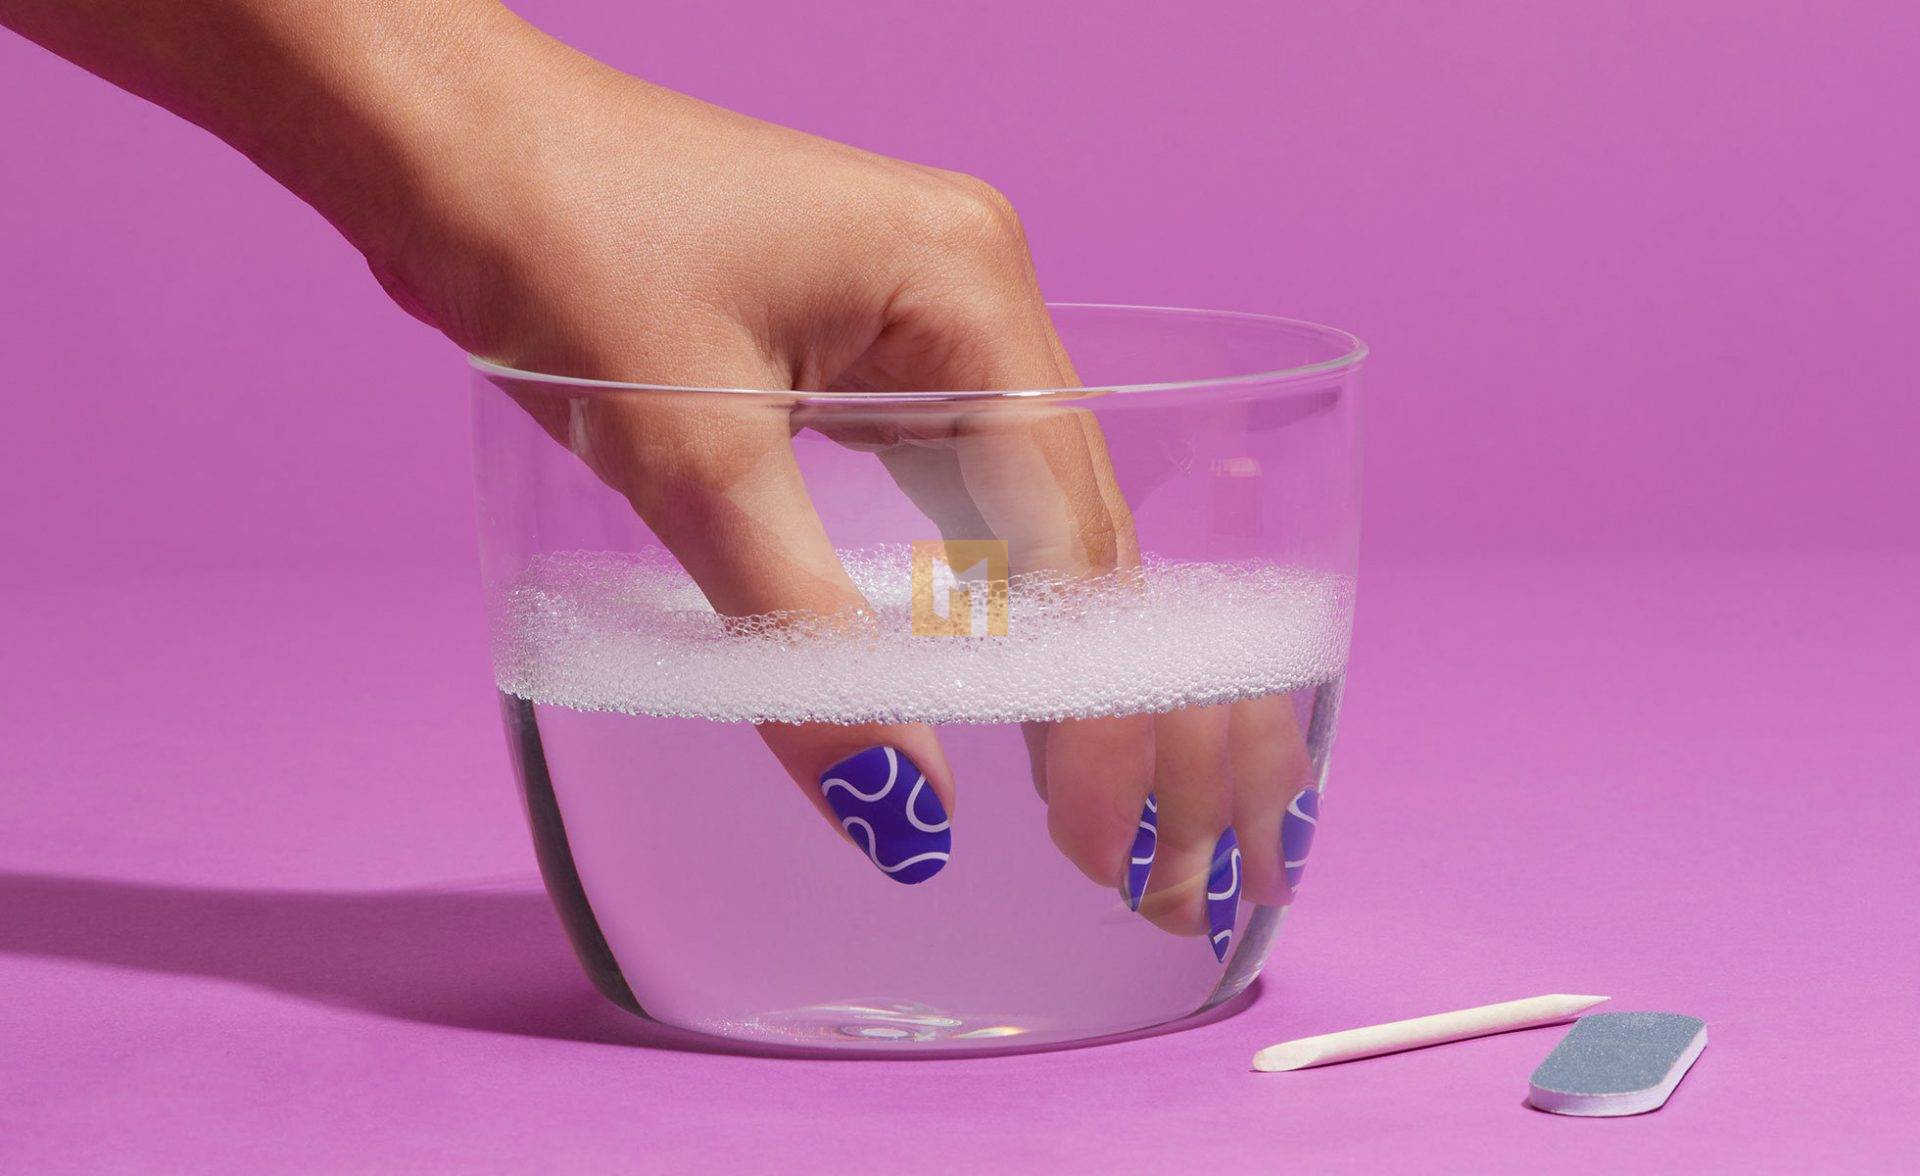
- Immerse yourself
Start by soaking your nails in warm water. Chill house recommends adding mild soap or oil to the water – I went the oil route to nourish the cuticles and skin at the same time.
Warning: Acetone can also help, but it can also damage weights. If you are going to reuse the tips, I would avoid this path.
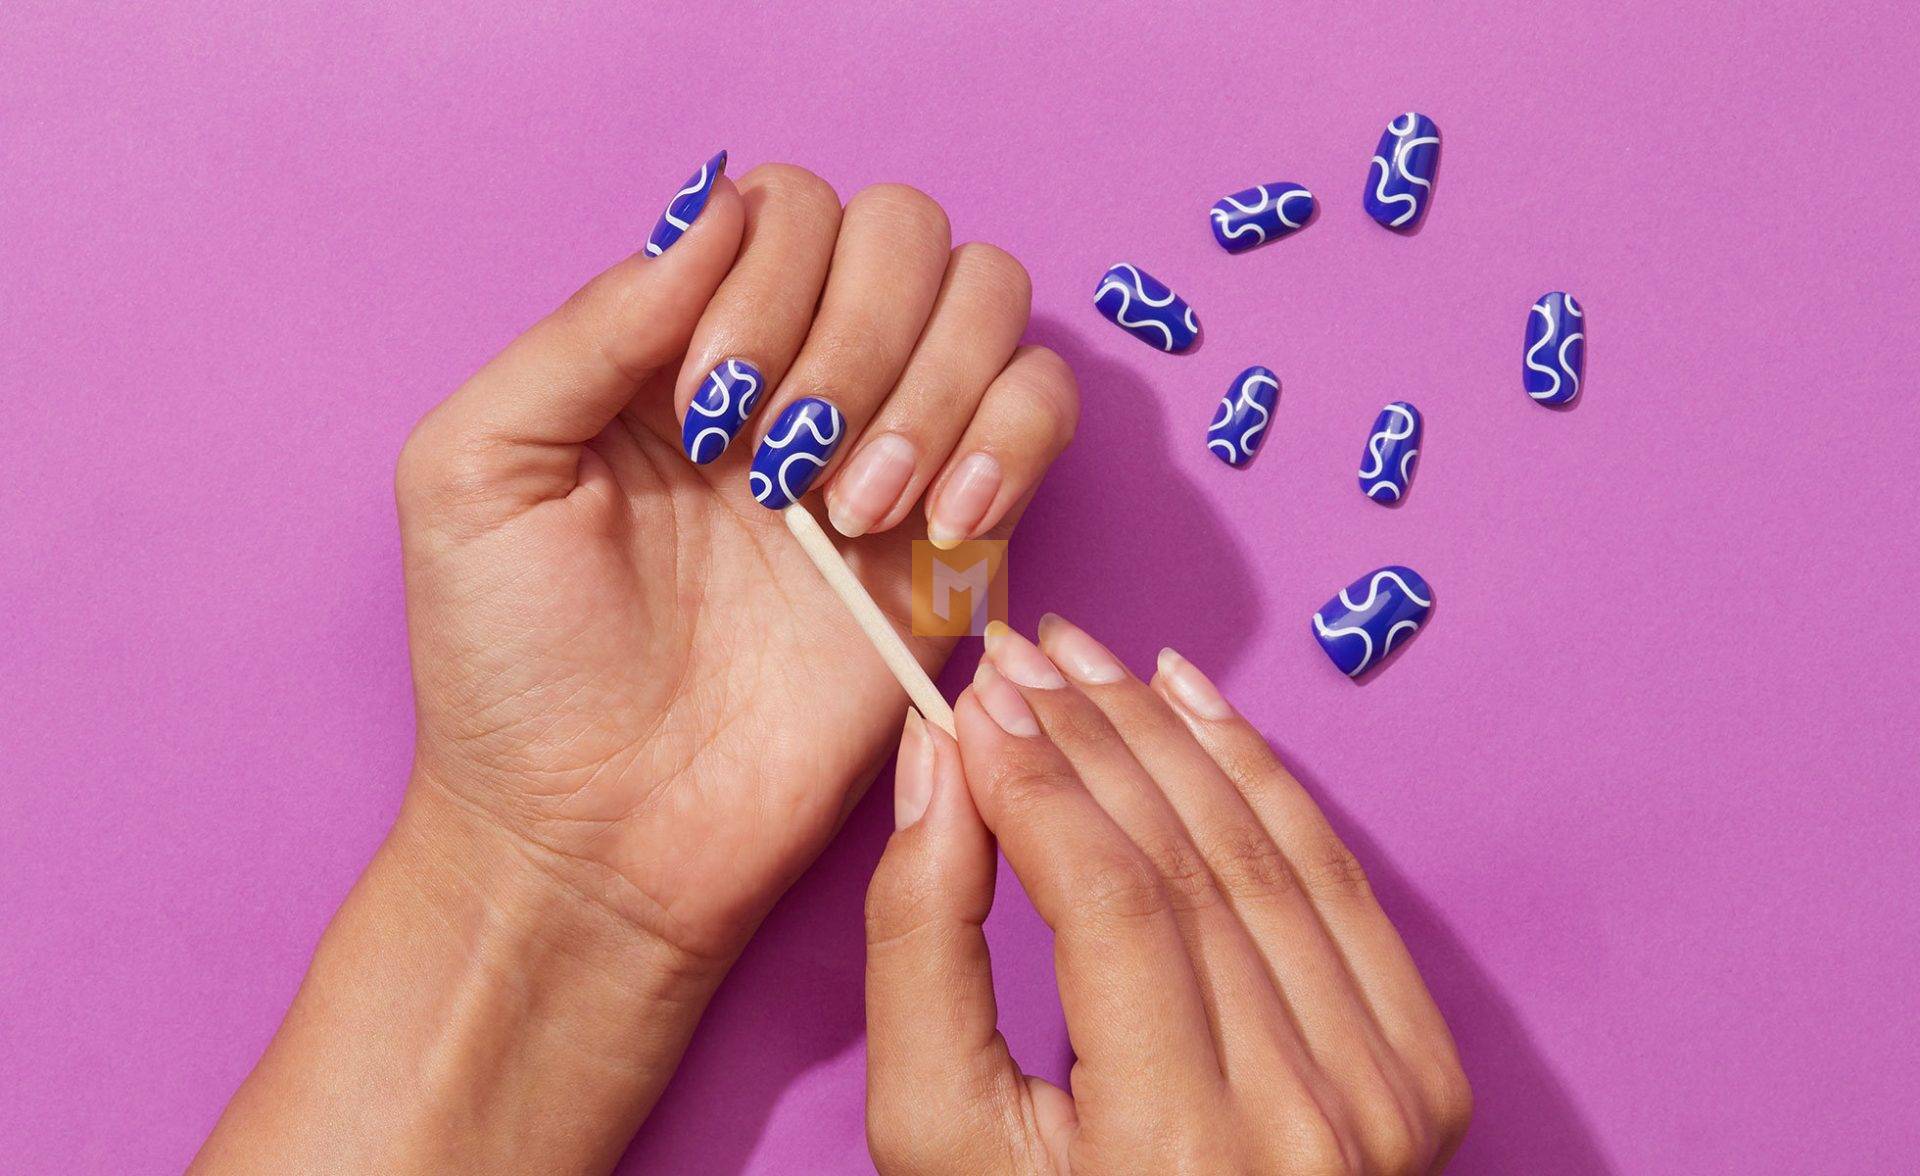
- Delete
After soaking your nails for a few minutes, use the included cuticle stick (or your favorite) to move your nails. Go slowly and carefully to avoid damaging Chillhouse’s nails. I admit I broke a few nails while eagerly trying to get them off. Again, if you want to save your nails for reuse, be as careful as possible when removing them.
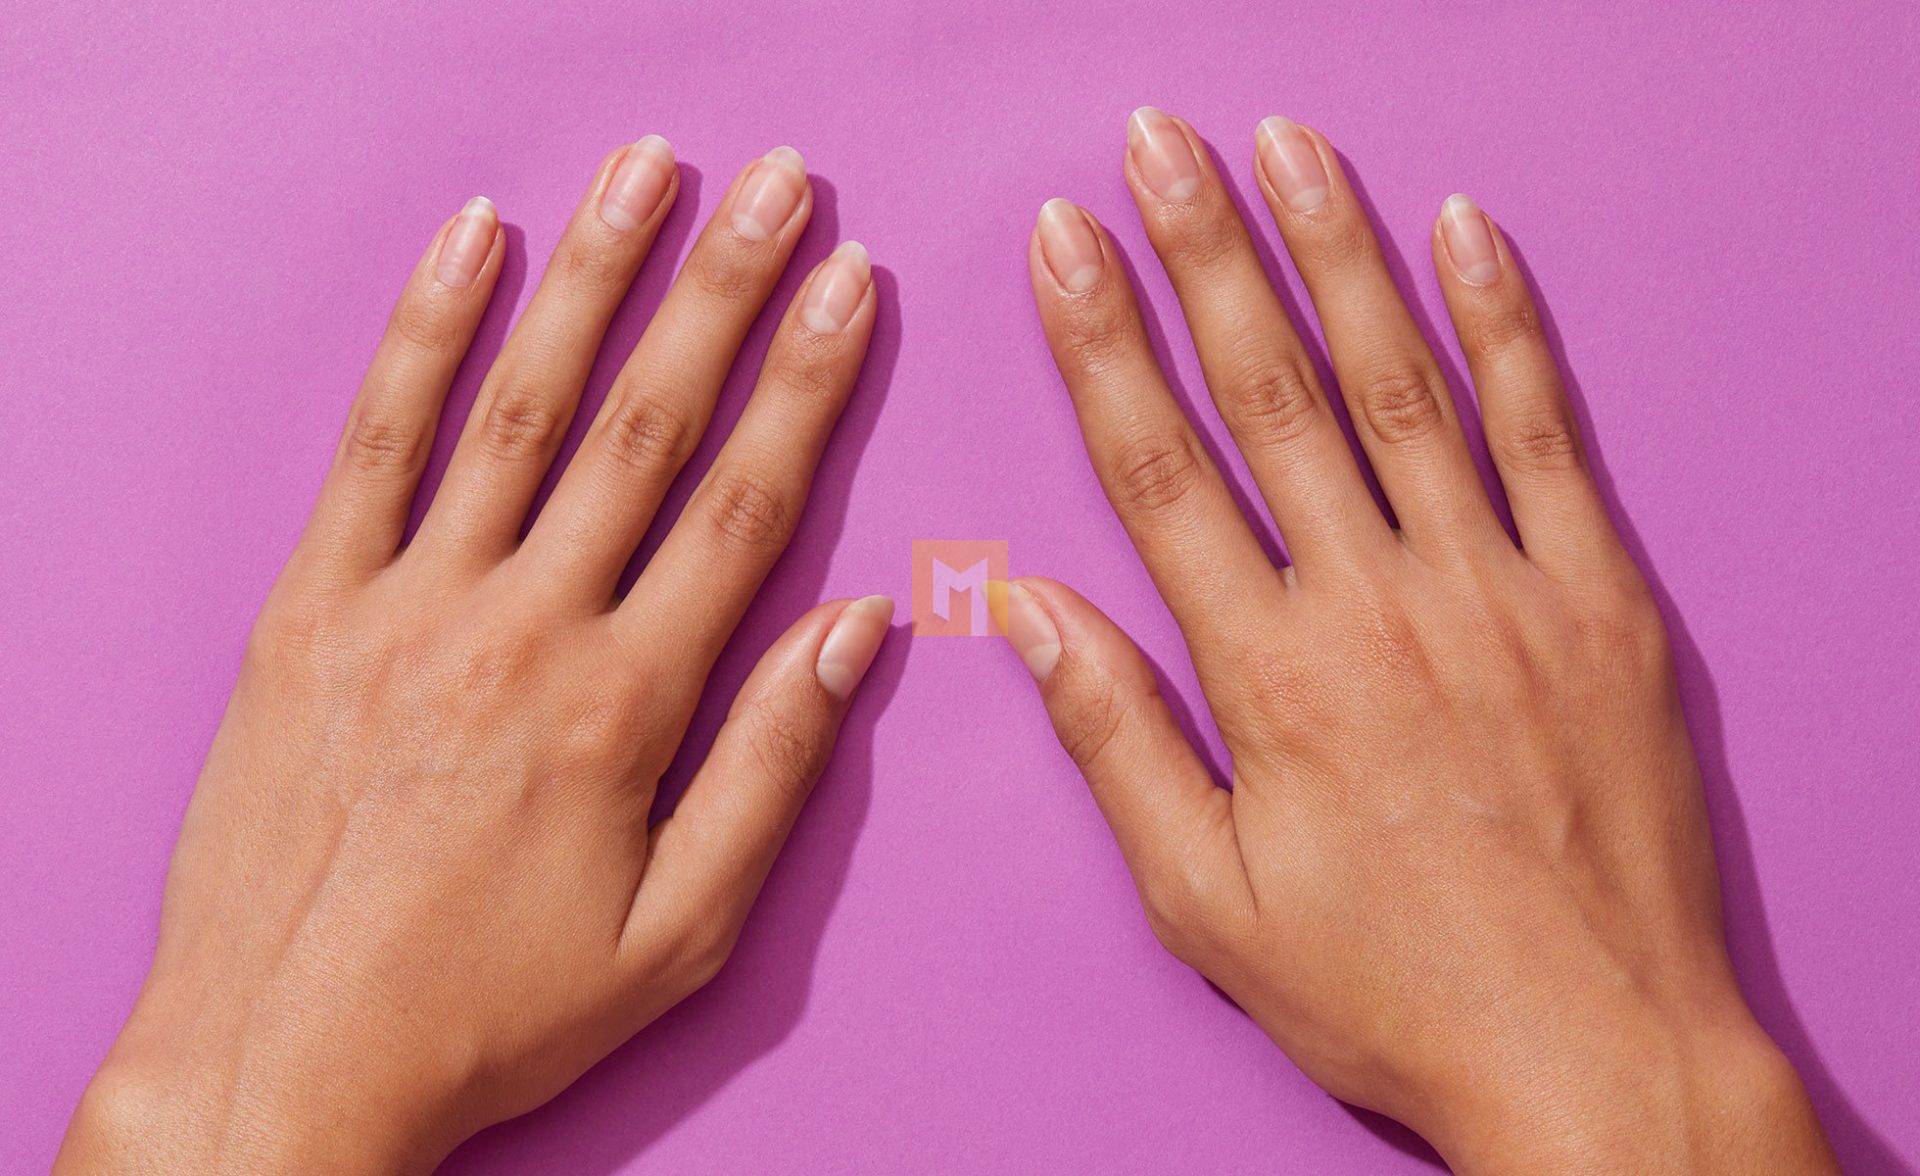
- That’s it!
After removal I quickly cleaned myself – filing, buffing and pushing back the cuticles. Not only is removal quick and easy, but the nails remain intact and leave no traces of pressing or gluing.
Final verdict
If an Instagram-worthy manicure for $16 without ever entering a salon seems too good to be true, I’m living proof that it exists! The nails are easy to use and are surprisingly sturdy! If you want to leave them on for an extended period of time or on the go, I’d bring glue. I had a loose pair of claws, but that was more of a user error than a standard claw. Getting the perfect glue ratio may take some trial and error, but once you get the hang of it, you can have a salon-worthy mani (and receive endless compliments) in minutes!


